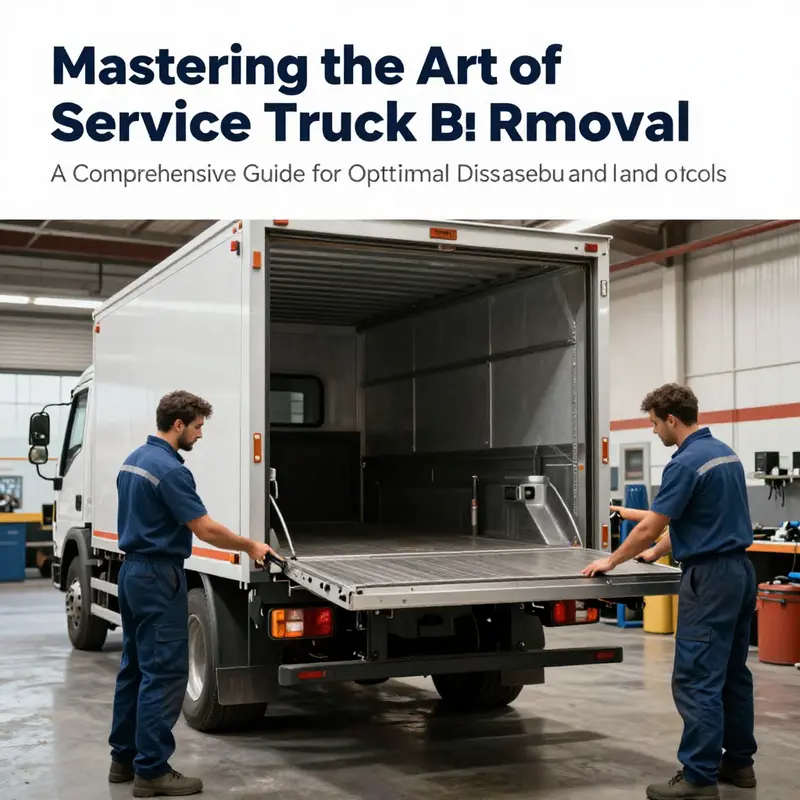
Removing a service truck bed requires precision, safety, and a keen understanding of the vehicle’s structure. For manufacturing and distribution companies, retail and e-commerce businesses, construction and heavy industries, and small business owners needing shipping solutions, understanding how to safely detach a service truck bed is paramount. This process not only sustains the truck’s operational integrity but also enhances productivity across various sectors reliant on these vehicles. This guide delineates critical safety protocols, identifies attachment points integral to the removal process, and provides a step-by-step methodology to ensure efficient disassembly without damaging the truck or compromising safety. Each chapter endeavors to equip professionals with the necessary knowledge to tackle this task with confidence and skill.
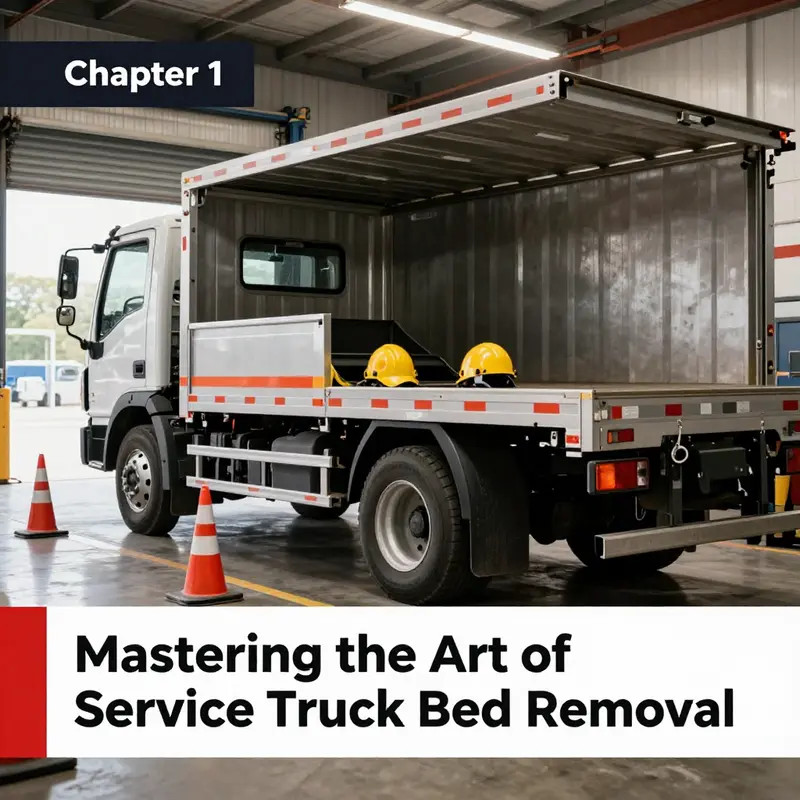
Safe Steps and Steel Caution: A Safety-First Guide to Removing a Service Truck Bed
Removing a service truck bed is a task that requires planning safety discipline and clear communication. The bed is a heavy rigid structure, often bolted to the frame and connected to hydraulic or pneumatic systems. Treat it as a controlled operation to protect people and the vehicle. This guide describes the safe sequence, common hazards, and practical checks for removing a service bed.
Begin with PPE and site preparation. Wear a hard hat, safety glasses, cut resistant gloves, and steel toed boots. Use high visibility outerwear where equipment or people move nearby. Ensure a clean, level work area and engage the parking brake. Place wheel chocks and use jack stands or a hoist to stabilize the vehicle if the bed remains mounted. Before any disconnect, disconnect electrical power and label cables to avoid miswiring during reinstallation. Inspect mounting points, rails, and lifting anchors for wear or damage. Loosen fasteners in a deliberate order and release any hydraulic or pneumatic pressure in the lift system before separation. Use appropriate rigging rated for the bed mass and inspect all hooks, slings, and eye bolts. Have a dedicated signal person or radio comms to coordinate lifting. Move the bed slowly and with a guide on the ground to avoid contact with the chassis or surrounding components. Once detached, place the bed on a stable surface with padding to prevent damage. Document bolt sizes and locations and secure the bed to prevent tipping during storage or transport. Finally, review local regulations and maintain a clear chain of custody for the removed bed. This approach reduces risk and supports safe reassembly and future maintenance.
null
null
Chapter 3: The Quiet Lift—A Thorough, Safe Approach to Removing a Service Truck Bed
Removing a service truck bed is not a single move but a careful sequence that blends planning, respect for the hardware, and disciplined safety practices. When the goal is to repurpose, refurbish, or reconfigure a vehicle used for on-site work, the bed is more than a cargo platform; it is a structural element often integrated with power systems, hydraulics, and a network of electrical connections. A thoughtful removal preserves the chassis, protects valuable components, and minimizes downtime if the bed is going to be reinstalled or replaced. The process begins with a mindset of safety and ends with a clean, inspected frame ready for the next phase of work. Across this narrative, the emphasis remains on steady, controlled action rather than forceful improvisation, because the bed is heavy, awkward to maneuver, and connected to systems that can surprise an unprepared technician.
Safety forms the foundation of every step. Park the vehicle on level ground and set the parking brake. Disconnect the battery to prevent any accidental activation of lighting, power outlets, or monitoring circuits while the bed is detached. Wear PPE appropriate to the task: safety glasses to guard against flying debris, gloves for grip and protection, and sturdy footwear. A plan in writing is rarely necessary, but a quick mental checklist helps. Confirm you have the right tools—socket sets, wrenches, a torque wrench, a floor jack, and reliable jack stands. If your shop environment is variable, include a dolly or a helper strap to manage the bed’s weight as you begin the disengagement. The moment you introduce an element of haste, the risk of a ding, a pinch, or a costly misstep rises. So, even before touching a bolt, pause to verify safe access and adequate lighting.
Before any bolt is touched, many beds have protective or cosmetic components that must come off first. A tonneau cover, bed liner, or auxiliary panels often conceal mounting hardware and hydraulic lines. Removing these items early reduces the chance of hunting for fasteners while the bed is partially supported. It also minimizes the possibility that a tool slips and damages a panel or trims a component that serves a practical purpose on the job site. While the specifics vary with design, the approach is the same: detach fasteners with care, store hardware in labeled containers, and keep components in a safe place so they can be reinstalled later without confusion. If a utility cutout or light strip is part of the bed assembly, consider labeling the connectors to avoid mismatches upon reassembly. This small discipline saves time later when the bed returns to service or is rebuilt.
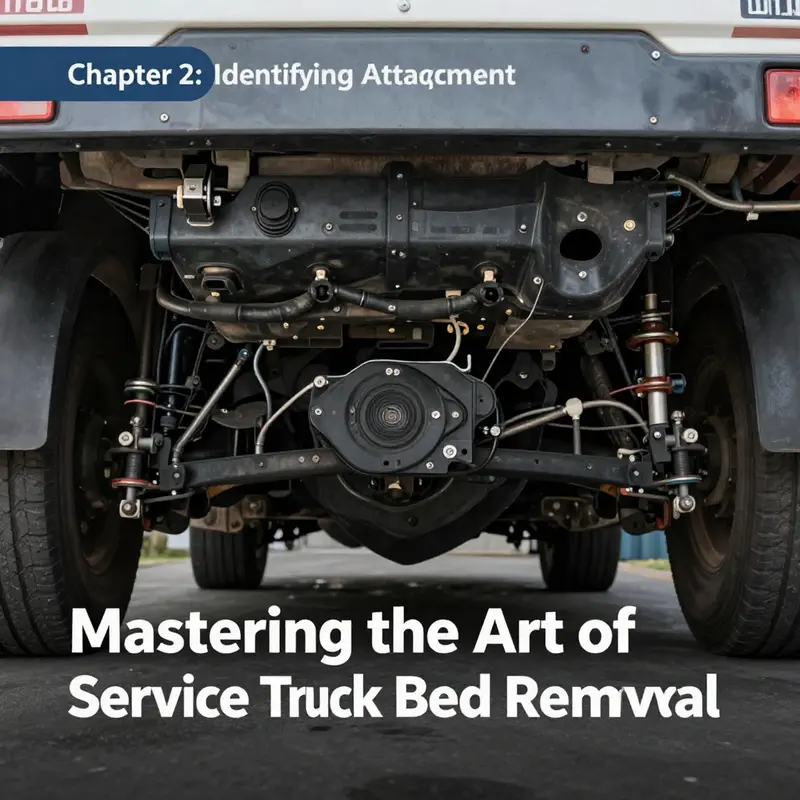
As you gain access to the bed mounting points, the discovery often reveals a combination of bolts, brackets, and fasteners that secure the bed to the chassis. These attachment points are typically located at the front and rear of the bed—where the frame rails meet the bed structure—and may be tucked along the sides or behind trim pieces. Use a socket wrench or ratchet to loosen these fasteners, taking care to apply even pressure to avoid stripping threads or twisting mounting brackets. When you encounter bolts that resist turning, a light application of penetrating oil can work wonders. Allow the oil to dwell for ten minutes or so, and then work the bolt back and forth with steady, deliberate turns rather than a single aggressive twist. If corrosion is present, do not rush. A patient approach preserves the integrity of the frame rails and reduces the risk of damaging the threads, which could compromise reinstallations or future servicing.
With fasteners loosened but not removed, plan the lifting sequence carefully. The bed is usually heavy and mounted to multiple structural points, so a two-stage approach works best. Begin by slightly lifting the front end using a floor jack positioned over a solid structural point on the frame. The objective is not to raise the entire bed at once but to create a controlled separation from the frame rails. Once the front is supported on the jack, slide a pair of jack stands beneath the front corners to share the load. This creates a safe pivot and reduces the chance that the bed will tip forward if you lose a grip or misjudge the balance. Repeat the same process toward the rear of the bed: lift slightly, place stands, and verify that the bed is secure from both ends before proceeding to disconnect the final connections.
Safety cannot be overstated here. Never place any body part under a bed that is only supported by a hydraulic jack. Jack stands must be fully engaged and bearing the load. If the bed is exceptionally heavy or awkward, a second person can help guide the lifting through the balance point. When you have created a secure, double-supported stance under both ends, you can proceed to remove the remaining mounting bolts. Some designs require you to detach brackets or slide rails, or release locking mechanisms that secure the bed to sliding tracks in the bed frame. In any case, disengage these features with care. If the bed features a hydraulic or pneumatic lift system, observe the proper procedure for relieving pressure before attempting to separate the bed from the frame. A sudden release can cause the bed to move unexpectedly, which is risky and could cause injury or damage.
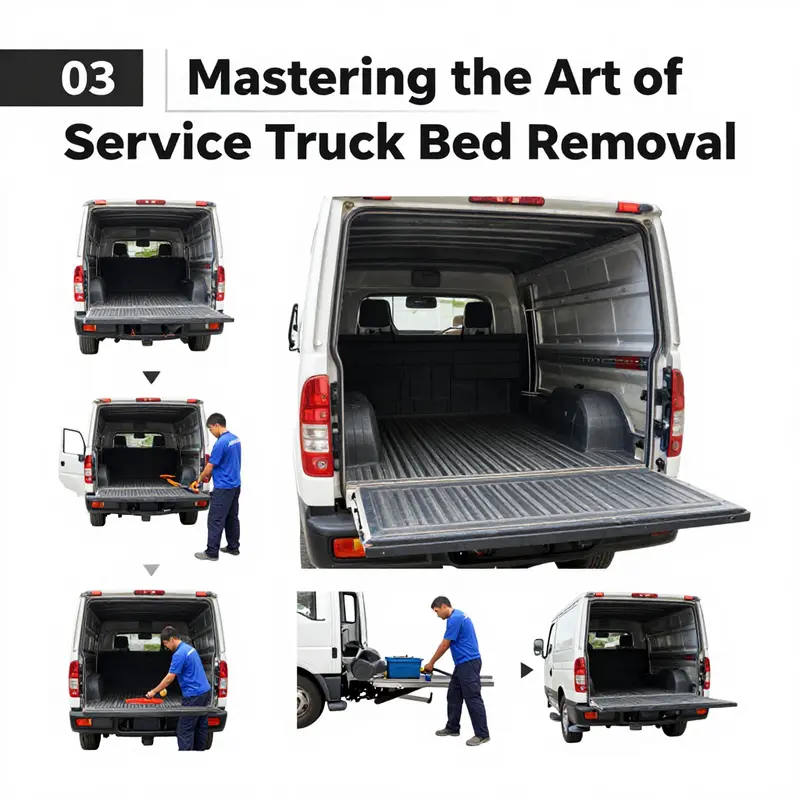
After the fasteners are removed and the bed’s connections are released, the moment arrives to separate the bed from the frame rails. Depending on the vehicle design, the bed may slide forward, backward, or lift away from the truck with a careful, coordinated move. For some applications, sliding rails and locking pins are part of a modular design; for others, the bed sits atop crossmembers that require a careful push or gentle tilt to disengage. In all cases, move slowly and keep your hands clear of pinch points. If the bed is heavy enough to resist a straightforward release, employ a dolly or a second set of hands to guide it off the frame while you maintain control of the lift. A staged approach—disconnect one side, confirm clearance, then move the opposite side—can reduce the strain on any single component and lower the risk of misalignment or damage.
With the bed finally freed from the frame, the next phase is placement on a safe surface. A flat, sturdy area is essential, ideally with a protective layer such as thick rubber or plywood to prevent scratching the paint or bending metal. A forklift-compatible area or a heavy-duty hoist can ease the transfer, but if those options aren’t available, a calm, two-person lift using a sturdy dolly can suffice. The goal is to lower the bed in a controlled fashion without jolts or abrupt movements that could injure someone or ding a critical surface. Once the bed rests on the ground, it is prudent to inspect the surrounding frame rails for any signs of residual stress, misalignment, or corrosion that may have developed during the removal process. Small burrs, rough edges, or a slight misalignment of holes can signal the need for a quick remedial touch before the next installation or the bed’s refurbishment.
The post-removal phase is not the end of the task but a transition into preparation for whatever comes next. First, examine the frame rails and mounting holes for wear or deformation. Rust or deformation can alter the way new hardware engages with the frame, and addressing these issues ahead of time helps ensure a strong, reliable reattachment. Clean the rails and holes with a wire brush and compressed air to remove debris and rust flakes that could interfere with bolts seating properly. If you find significant corrosion or bent brackets, consult the OEM service literature or a qualified technician to determine whether repair or replacement is warranted. For beds that will be stored, protect the exposed surfaces from moisture and temperature drift. A dry, elevated position with padding between the bed and the floor will help prevent dents and scratches over time.
The broader context of this work sits within a culture of fleet maintenance where vehicles are kept in service through thoughtful care rather than ad hoc improvisation. A practical, fleet-wide mindset extends beyond a single removal and informs decisions about repair timelines, component replacement, and safety standards. For readers seeking to situate this task within current industry practice, a useful reference point is the ongoing discussion around trends in private fleets maintenance, which you can explore here: private-fleets-trends-in-trucking-maintenance. This connection helps frame the bed-removal process as part of a disciplined approach to vehicle lifecycle management, reminding readers that the actions taken today have ripple effects on uptime, safety, and maintenance planning in the weeks and months ahead. It is easy to forget that the removal and reinstallation of major components are not merely mechanical challenges; they are tasks that influence the reliability of power systems, lighting circuits, and even the ability to return a vehicle to service promptly after a cold-water rinse and the dust of a job site is cleared away. The bed, in its role as a modular payload platform, interacts with every other system in complex ways, and acknowledging this complexity helps technicians approach the job with both respect and curiosity.
In the end, the procedure will feel almost ceremonial—the careful loosening, the measured lift, the unbolting, and the final separation. But the real payoff is practical: a bed that comes away cleanly and a frame that remains intact and ready for reattachment or repurposing. The OEM manuals remain the authority on any model-specific details, and they should be consulted whenever there is any doubt about sequences, torque specifications, or the particular locking mechanisms in play. If a bed is part of a larger modular interior system or a conversion, the official service documentation becomes even more critical. The objective is not to speed through the process but to move with deliberate precision, ensuring the truck remains safe and capable for its next job, whether that involves reclaiming a bed for refurbishment, relocating it to another vehicle, or integrating a new configuration that better supports mobile work.
To close this thread with a practical touch, remember that the bed’s removal is a transition between states, not an endpoint. Keep a record of all fasteners, brackets, and connectors removed, along with any labels you attached to cables and hoses. When reinstalling, verify that every bolt is torqued to specification and every electrical connector is reconnected in its original position. For hands-on readers who want a quick cross-check against a model-agnostic reference, a comprehensive, model-independent guide that mirrors the steps described here can be found in a widely referenced step-by-step resource: https://www.mechanicshelp.com/vehicle-repair/removing-truck-bed-step-by-step-guide. This external guide aligns with the general sequence of preparation, access, separation, and post-removal checks, offering a practical companion piece to the in-house or OEM documentation. While the specifics of each truck bed vary, the core discipline—plan, protect, lift, separate, and inspect—remains constant, and following it consistently yields safer work and a clearer pathway toward whatever comes next for the vehicle and the team that operates it.
Final thoughts
Understanding how to effectively and safely remove a service truck bed is crucial for firms reliant on such equipment. By adhering to organized safety protocols, comprehensively identifying attachment points, and following a structured removal process, businesses can ensure operational efficiency while maintaining the vehicle’s integrity. This guide serves as a crucial resource for small business owners and industry professionals who need to navigate the complexities of vehicle modification and management.