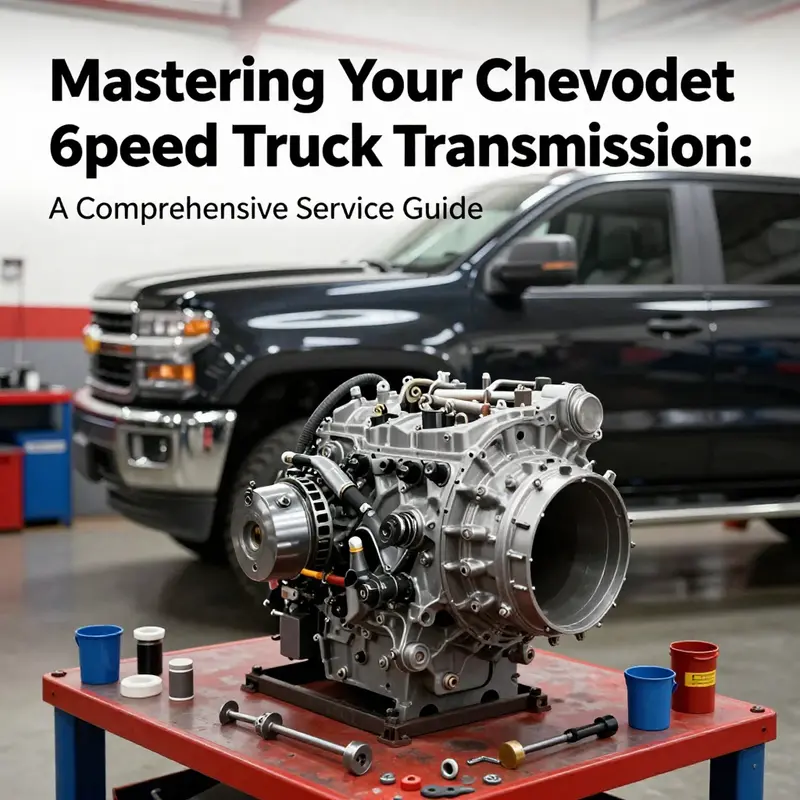
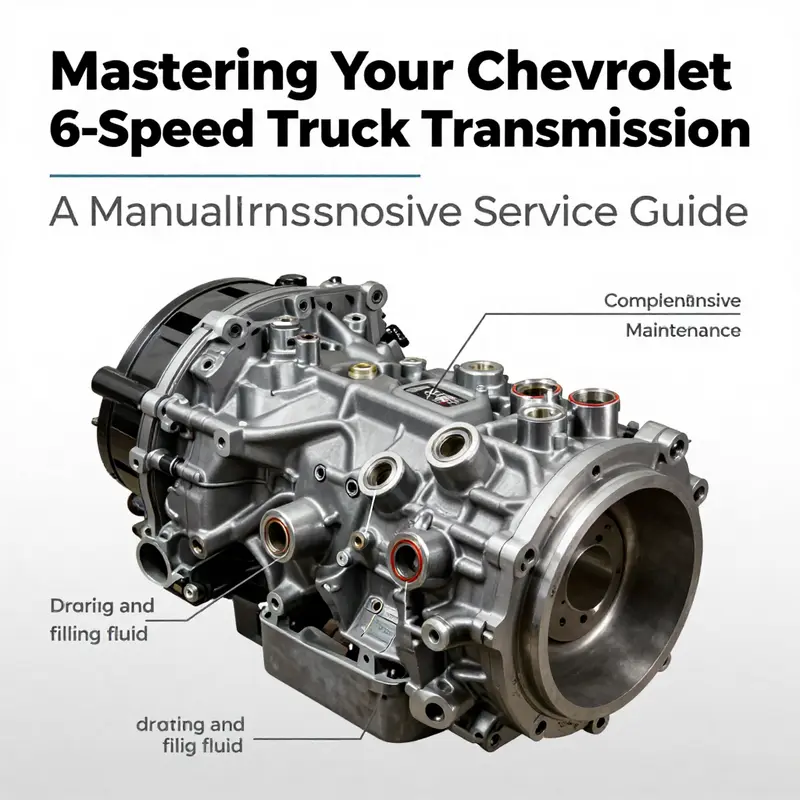
Maintaining the performance and longevity of a Chevrolet 6-speed truck transmission is crucial for those who rely on these vehicles for various demanding tasks. From ensuring smooth gear shifts to extending the transmission’s lifespan, a well-serviced transmission contributes significantly to the overall efficiency of operations in fields such as manufacturing, distribution, and construction. This guide offers a structured approach to servicing Chevrolet’s 6-speed transmissions by breaking it down into clear, actionable chapters. The journey will cover checking and replacing transmission fluid, inspecting and replacing the filter, performing manual transmission maintenance, and inspecting for leaks and wear. Each chapter will deepen your understanding of this vital component of your vehicle, ensuring you are well-equipped to handle servicing tasks effectively.
The Six-Gear Heartbeat: Mastering Fluid Checks and Replacements in a Chevrolet Truck Transmission
A heavy-duty truck carries more than its load; it carries a rhythm—the steady thrum of a transmission that has learned to endure the long haul, climb, and cold mornings that bite at the cab. In the world of Chevrolet trucks equipped with a six-speed transmission, the smoothness you feel in every shift is often the product of one humble but essential habit: maintaining clean, properly leveled transmission fluid. The fluid is more than a lubricant; it is a heat absorber, a hydraulic medium, and a cushion for gears as they mesh and disengage under varied loads. When the rhythm falters—when shifts grind, when rpms spike without corresponding acceleration, or when the transmission runs hotter than usual—the first instinct should be to check the fluid and ensure it is correct in both type and level. The practical path to a healthy six-speed transmission rests on a few clear steps, executed with patience and attention to the manual’s guidance. This chapter traces that path as a continuous, cohesive practice rather than a checklist of isolated tasks. It is about reading the heartbeat, not merely ticking boxes, and how that reading translates into smoother operation and longer service life for the truck that carries your next job, your family, and your responsibilities.
Beyond the obvious, fluid health connects to the broader maintenance ecosystem that fleets and individual owners manage every season. For operators watching maintenance calendars and fuel economy dashboards alike, the rhythm of a transmission service is a benchmark of reliability. It sits alongside oil changes, filter checks, and cooling system audits, quietly influencing downtime, resale value, and the willingness of the drivetrain to perform under stress. A well-timed fluid check and replacement can prevent premature wear, reduce shifting lag, and even help you catch a problem before it becomes a breakdown. That is why the act of checking and replacing transmission fluid deserves careful, unhurried attention rather than a hurried morning, a five-minute pit stop, and a shrug.
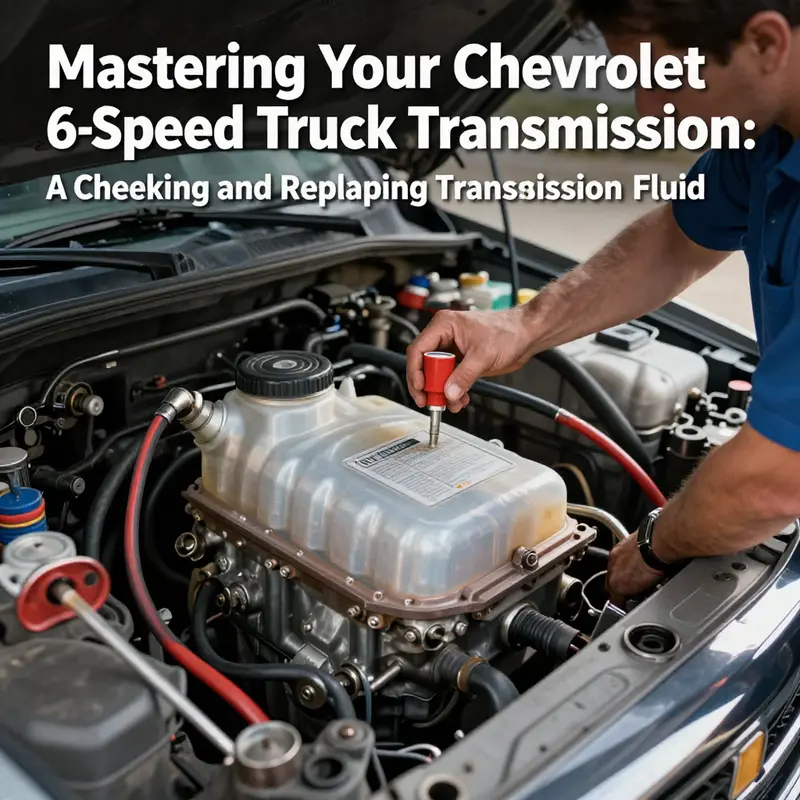
To begin, the setting matters. Park on a level surface, in a quiet area with the truck cooled down from a recent drive if you are inspecting after use. A level stance ensures the dipstick reading is accurate, which is essential because transmission fluid expands when hot and contracts as it cools. You want the engine warm—driven for a few miles so the fluid has circulated and the level reflects the working state, not the residuals of a cold start. With the hood up or the engine bay accessible, you will locate the dipstick. In many six-speed automatics, the dipstick is a bright handle near the engine, sometimes marked in a color that stands out against the metal of the block. For manual transmissions, the approach remains similar but the dipstick or level port is often located on the side of the transmission housing or near a dedicated fill plug on the side. The practical aim is simple: confirm that the fluid level sits where the manufacturer intends for it to sit when the transmission is in the appropriate condition.
Reading the level is a moment of quiet confidence. You pull the dipstick, wipe it clean, reinsert it fully, and pull it again to read the level. In many modern automatics, the correct range is between the “Full” and “Add” marks; in some designs, the spec sits in a small window on a guide tube. If the level falls short, you add the correct fluid gradually through the fill tube, pausing to recheck frequently. The manufacturer’s instruction is clear here: use only the fluid type specified in the owner’s manual. The wrong fluid can alter friction characteristics, shift quality, and overall hydraulic response, potentially triggering early wear or cascading problems that ripple through the entire transmission. This is not an area to improvise; it is a precise service that respects the engineering choices made for your drivetrain. If you are unsure which fluid to use, consult the owner’s manual or a trusted repair guide that aligns with your model and year. The relationship between fluid specification and performance is too direct to gloss over.
When the fluid level is healthy, the next important step is understanding its condition. Fluid should be clear, not metallic, and it should carry a faint but not overwhelming odor. If the fluid appears dark, feels gritty, or has a burnt smell, that is a signal that the fluid has degraded and may no longer be providing adequate lubrication or heat transfer. Degraded fluid can contribute to rough shifts, delayed engagement, or unusual noises during gear transitions. While color alone isn’t a slam-dunk diagnostic, it is a valuable clue that warrants a more thorough service schedule—particularly if the vehicle has exceeded its typical miles since the last fluid exchange or has operated in harsh conditions such as heavy towing, extreme temperatures, or stop-and-go city driving.
The heart of the routine is the replacement process itself, a sequence that blends gravity with precision. The traditional approach begins with draining the old fluid from the transmission. Find the drain plug on the pan or the bottom of the housing, position a catch basin beneath it, and loosen the plug just enough to begin a controlled flow. Patience matters here; a hurried drain can splash and create a mess, and a rushed job risks leaving behind fluid that carries particulates into the filtering system. Once the fluid has fully drained, you replace the drain plug with the correct torque and ensure the pan surface is clean. If the pan has a filter, this is the moment to inspect it. A replaceable filter inside the pan is common on many Chevrolet 6-speed automatics, though some configurations use a filter that cannot be replaced separately. The principle remains the same: take care when opening the pan, avoid introducing dirt into the hard-working internals, and replace the filter if the design calls for it. You should also inspect the pan gasket for any signs of leakage around the edges, a telltale sign of wear or aging that could require gasket replacement. A clean pan and a new gasket go a long way toward preventing leaks after the service is complete.
With the pan off, the inside of the transmission is exposed to a brief, controlled opportunity for inspection. You can visually check for unusual wear patterns on the gasket surface, the presence of metallic shavings, or other contaminants that might indicate a problem upstream. While you are in this access point, take a moment to verify that the cooler lines are secure and not kinked or damaged. Leaks around seals and the pan can be a threshold signal of a broader issue, and catching it in this phase can save you much larger concerns later. Once you have replaced the filter (if applicable) and reinstalled the pan with a new gasket, you prepare for the most critical stage: refilling the transmission with fresh fluid.
Refilling is performed through the fill tube or fill plug, depending on the design of your six-speed. Start by pouring a measured amount of fluid, then pause to recheck the level after the engine has run and the transmission has cycled through a few gears. The objective is a precise, level reading that places the fluid in the expected range when the transmission is warmed up and after it has cycled through the gear positions. You may be instructed to run the engine and shift through all gears several times to ensure proper circulation. This recheck ensures you do not overfill, which can foreshadow pressure-related issues or foaming, nor underfill, which leads to poor lubrication and insufficient heat transfer. In either case, the instruction remains: rely on the dipstick and the vehicle’s own monitoring as the final arbiter of correctness.
After the fill and the shifts, it is prudent to recheck the level once more with the engine running and the transmission in park, allowing any settling to finish. The final level should sit within the manufacturer’s prescribed range, neither above nor below. If you find that you still fall short or exceed the mark, you can top off in small increments, repeating the cycle of running, shifting, and checking until the balance is achieved. The process is not merely mechanical; it is a dialogue with the transmission, a way of listening to its needs and validating its readiness to perform in the next miles of service. It is a discipline that rewards those who approach it with method and patience.
An important part of the broader servicing routine is recognizing the difference between an upgrade and a maintenance cycle. After a fluid change, certain automatic transmissions rely on a brief relearn or adaptation period. This relearn allows the transmission’s electronic control system to adjust to the new fluid characteristics, the slight changes in friction, and the altered hydraulic response that accompany fresh fluid. The relearn step can sometimes be conducted automatically through normal driving, but in some cases you may need to follow a manufacturer-specified procedure, possibly with a scan tool. The objective is simple: ensure the transmission’s learning curve aligns with the new fluid properties so that shifting feels smooth and predictable as you return to road use.
While addressing the fluid, it is remiss not to consider the broader maintenance context. A transmission service sits within a chain of preventive steps that includes inspecting the transmission mount, linkage (for manual configurations), and cooler lines for stiffness, wear, or damage. Leaks around the pan or seals are red flags that deserve prompt attention. Even if the fluid itself appears to be in good condition, small leaks can degrade the system over time, leading to a drop in fluid level and, ultimately, a failure that requires more invasive repairs. Regular checks align with preventive maintenance philosophies that keep a heavy vehicle dependable and accountable to its duty cycle. Fleet operators especially benefit from scheduling this service as part of a broader maintenance window—coordinated with oil changes, brake inspections, and cooling system service—to minimize downtime and maximize uptime for essential operations.
A note on fluids and compatibility reinforces the seriousness of choosing the right specification. The manual is the guidepost; it points to the correct fluid category and any manufacturer-approved additives, if applicable. The wrong fluid is not simply a poor value; it is a potential barrier to sustained performance. The subtlety here is that the brand of the vehicle has its own expectations for friction, heat tolerance, and viscosity under pressure. Respecting those expectations protects the metal, maintains efficient hydraulic operation, and preserves the reliability you rely on during long trips, workdays that turn into late-night orders, or tough mountain sections where every shift must feel confident and deliberate.
In the context of daily practice, this approach to checking and replacing transmission fluid also dovetails with broader maintenance resources that help fleets and drivers stay aligned with best practices. For operators who manage multiple vehicles or who balance maintenance with tight schedules, consulting a robust maintenance resource can provide practical benchmarks and guidance for when to perform fluid changes. The importance of staying engaged with trusted information cannot be overstated; it helps ensure that the steps you take are consistent with the latest service guidance and the specific configurations of your Silverado or other Chevrolet truck in your fleet. This alignment between on-vehicle practice and the documented recommendations is what preserves both performance and peace of mind on the road.
As with any mechanical system, there are always more details to learn or confirm for your exact model year and transmission type. For those who want to dive deeper into model-specific procedures, downloadable service manuals and official support resources can be invaluable. A practical way to keep aligned with the best practices is to incorporate the maintenance guidance into your daily workflow rather than treating it as an occasional chore. In a fleet setting, it may become a standard operating procedure to perform an inspection and fluid check during every service cycle, paired with a quick test drive to verify shifting behavior after the job is completed. This approach reduces the risk of surprises and keeps the drivetrain operating within its designed envelope.
For readers who manage fleets or are looking for external perspectives on maintenance practices, consider resources that discuss how maintenance rhythms fit into the larger operational picture. The conversation around maintenance frequency and fluid care often intersects with industry trends, asset utilization, and preventive strategies that extend beyond a single vehicle. In particular, the maintenance culture of private fleets and their evolving approaches to routine care can provide useful context for individual owners as well. See the ongoing coverage and insights on private fleets trends in trucking maintenance to gain a broader sense of how maintenance decisions cascade into uptime, efficiency, and profitability. Private Fleets Trends in Trucking Maintenance.
The practical outcomes of a disciplined fluid service are tangible. You notice the payoff in smoother gear engagement, reduced transmission heat under heavy loads, and greater confidence when the truck needs to perform in demanding conditions. By aligning the process with the vehicle’s documentation, you respect the engineering decisions that define the transmission’s longevity. This is not merely about keeping a gauge in the green; it is about honoring the design intent that makes a Chevrolet six-speed transmission a reliable partner for work, travel, and the responsibilities that come with owning and operating a heavy-duty vehicle.
To close this segment with a reminder: the road to a healthy transmission is paved by two continuous habits. First, perform regular level checks on a warmed engine and in a level position to ensure readings reflect real operating conditions. Second, replace the fluid on a schedule that nods to the vehicle’s use case—heavy towing and frequent stop-and-go driving call for more frequent attention than light, highway-only driving. Following the manual’s guidance for the correct fluid, correctly draining and refilling, and ensuring the pan and filter are addressed where required lays the foundation for a healthy drivetrain. In practice, you will find that these steps, done with care, yield not only better performance but a greater sense of confidence in the vehicle’s ability to meet the demands of the day.
External reference: For model-specific procedures, diagrams, and official recommendations, consult the Chevrolet service manuals and the GM support resources that accompany your vehicle. These official materials provide the detailed torque specifications, fluid capacities, and step-by-step procedures tailored to your particular six-speed configuration and year. https://www.chevrolet.com/support
Filtering for Longevity: Inspecting and Replacing the Transmission Filter on a Chevrolet 6-Speed Truck
The transmission in a Chevrolet pickup with a six-speed designation relies on clean fluid and a healthy filter to maintain smooth shifting and long life. The filter traps metallic debris, clutch material, and other contaminants before they can circulate through the valve body and gear teeth. Over time the filter can become clogged or its gasket fail, which can cause shifting issues or fluid starvation. Servicing the filter is a proactive maintenance step that preserves performance and protects the transmission. This chapter outlines the practical steps and the why behind them, so the procedure reads as a single, continuous process rather than a mere checklist.
Preparation and safety: Park on level ground, engage the parking brake, and assemble the tools you will need: a drain pan, an appropriate socket set, a torque wrench, a gasket scraper, a new transmission filter, fresh fluid recommended by Chevrolet for your model, and a clean workspace. The filter is located inside the pan or near the valve body depending on the model. The goal is to remove the old filter, install the new one with a proper seal, and ensure the mating surfaces are clean before reassembly.
Drain and inspect: Begin by locating the transmission drain plug, placing the drain pan underneath, and loosening the plug to drain the fluid completely. As the fluid drains, inspect the pan and the magnet beneath the drain plug for metallic debris. A small amount of metallic grit can be normal after many miles, but heavy buildup may indicate wear elsewhere.
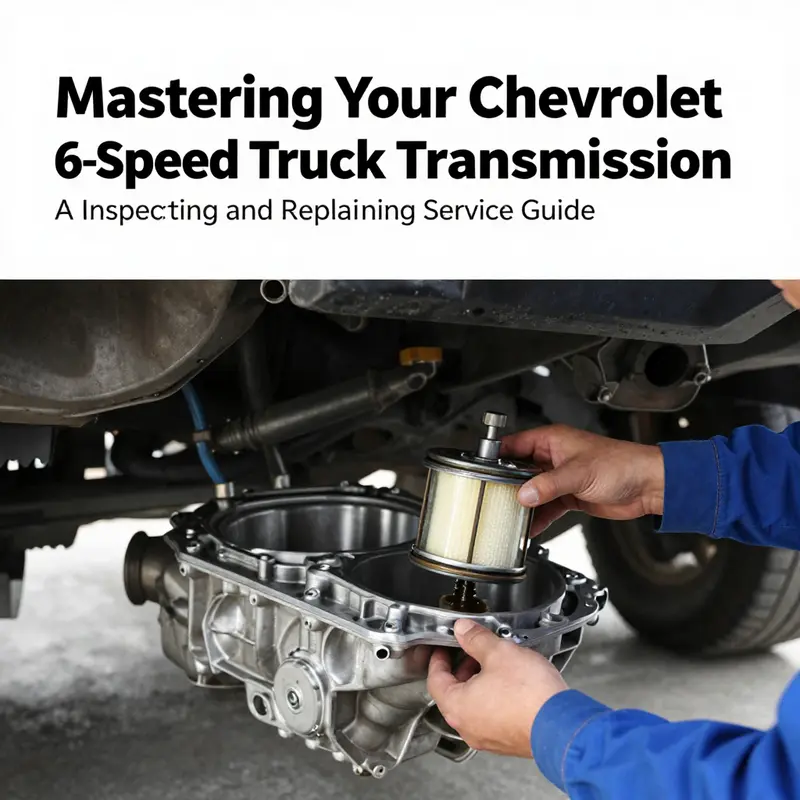
Pan removal and cleanliness: Once drained, remove the transmission pan bolts and carefully separate the pan. Clean the pan interior, the gasket surface on the transmission, and the filter housing area. Remove old gasket material and any grime; a light touch with a gasket scraper keeps from damaging the surface. Install a new gasket if required and prepare to fit the new filter.
Replace the filter: Remove the old filter according to the model’s design and inspect it for clogging or damage. A stubborn or torn filter should be replaced. Install the new filter, aligning it with its seating surface. If the filter has a gasket, lubricate it with a small amount of new transmission fluid to help seal without creating over-torque conditions.
Reassembly and fill: Reinstall the pan with a new gasket where needed and torque the bolts in a crisscross pattern to the specified specification. Refill with the manufacturer-recommended fluid, using a funnel into the designated fill port. Do not overfill; monitor the level per the manual or dipstick instructions. If a dipstick is not available, follow the relearn procedure or use a scan tool as directed by the manual to set the correct level.
Circulation and checks: Start the engine in park and allow the transmission to reach operating temperature. Cycle through forward and reverse gears to distribute the new fluid and verify the filter seating. Recheck the fluid level and adjust as necessary. Check for leaks around the pan, gasket, and filter area.
Post-service care and maintenance context: Perform the work in a clean workspace to minimize contamination. A magnetic drain plug helps trap remaining ferrous particles. If the vehicle is part of a fleet, regular filter inspections become a reliability signal that reduces downstream failures and improves uptime. Consider a short-term fleet maintenance reference to reinforce the practice.
For readers seeking a practical reference, a video tutorial showing a typical Chevy 6-speed filter replacement can complement the steps described here. Always refer to the official service manual or a trusted repair guide for model-year specifics, torque values, and relearn procedures if applicable.
null
null
null
null
Final thoughts
Serving your Chevrolet 6-speed truck transmission through regular checks of fluid, filter replacements, manual maintenance, and vigilance against leaks is not just preventive care; it is an essential practice that directly affects the efficiency and reliability of your vehicle. These services ensure that your truck performs optimally, allowing you to focus on your daily tasks without the fear of unexpected breakdowns. By embracing these servicing steps, you contribute significantly to prolonging the life of your transmission and enhancing your overall vehicle performance. Understanding this component enables you to better manage your operational needs and vehicle reliability.